I'm truly a dal fan & when I say dal it is not limited to just one, but my love is spread to the whole dal community. Every dal is unique in taste also the best protein source for vegetarians. Though I'm a "Ovo Lacto Vegetarian" I love adding them more than couple of times a week in our diet.
Chana dal fry is a simple & easy punjabi style dal fry dish.Though the original recipe has onions & garlic, but the recipe I'm sharing is a "No Onion No Garlic" with less of masala too.
Prep Time-1hr15mins {soaking+arranging}
Cook Time-1hr
Serves-4people
Pairs with rice, roti, naan & chapati.
Ingredients
1Cup chana dal
2Cups water
4Tomatoes finely chopped
1Tsp grated ginger
2Green chili's slit to half
1/2Tsp turmeric
1Tbs coriander cumin powder
1&1/2Tsp chili powder {adjust as needed}
1Tsp amchur powder or 2Tsp lemon juice {adjust as needed}
Salt to taste
1Tsp mustard seeds
1Tsp cumin/jeera
2Tbs oil
2Tbs coriander chopped for garnish
Directions
- Clean chana dal with water & soak them with enough water for 30mins to 1hr.
- Pressure cook chana dal with 2Cups water for 2whistles.
- Heat pan with oil. Add mustard & cumin to it. Once the mustard starts add in green chili's & ginger to pan. Fry for few seconds.
- Next add in tomatoes with enough salt & cook with a closed lid.
- Once the tomatoes are smooth then add in turmeric powder, amchur powder, chili powder & coriander cumin powder to pan. Mix & cook for 2mins.
- Add in cooked chana dal to tomato mixture & mix them well. Add 1/2cup water if needed & cook on low heat for 5mins.
- Adjust salt & chili powder if needed. Next add the coriander to pan & switch off heat.
- Serve warm & enjoy.
Note
- If you are using lemon juice then add it at the end along with coriander & mix it nicely.
- I mashed the dal before adding to pan. So it's your choice if you want to mash it or leave as it is.
Follow me on "Facebook", "Google+", "Pinterest", "Instagram" for daily updates. Leave me a comment on any queries regarding this recipe & I will be able to answer it for you as soon as possible.

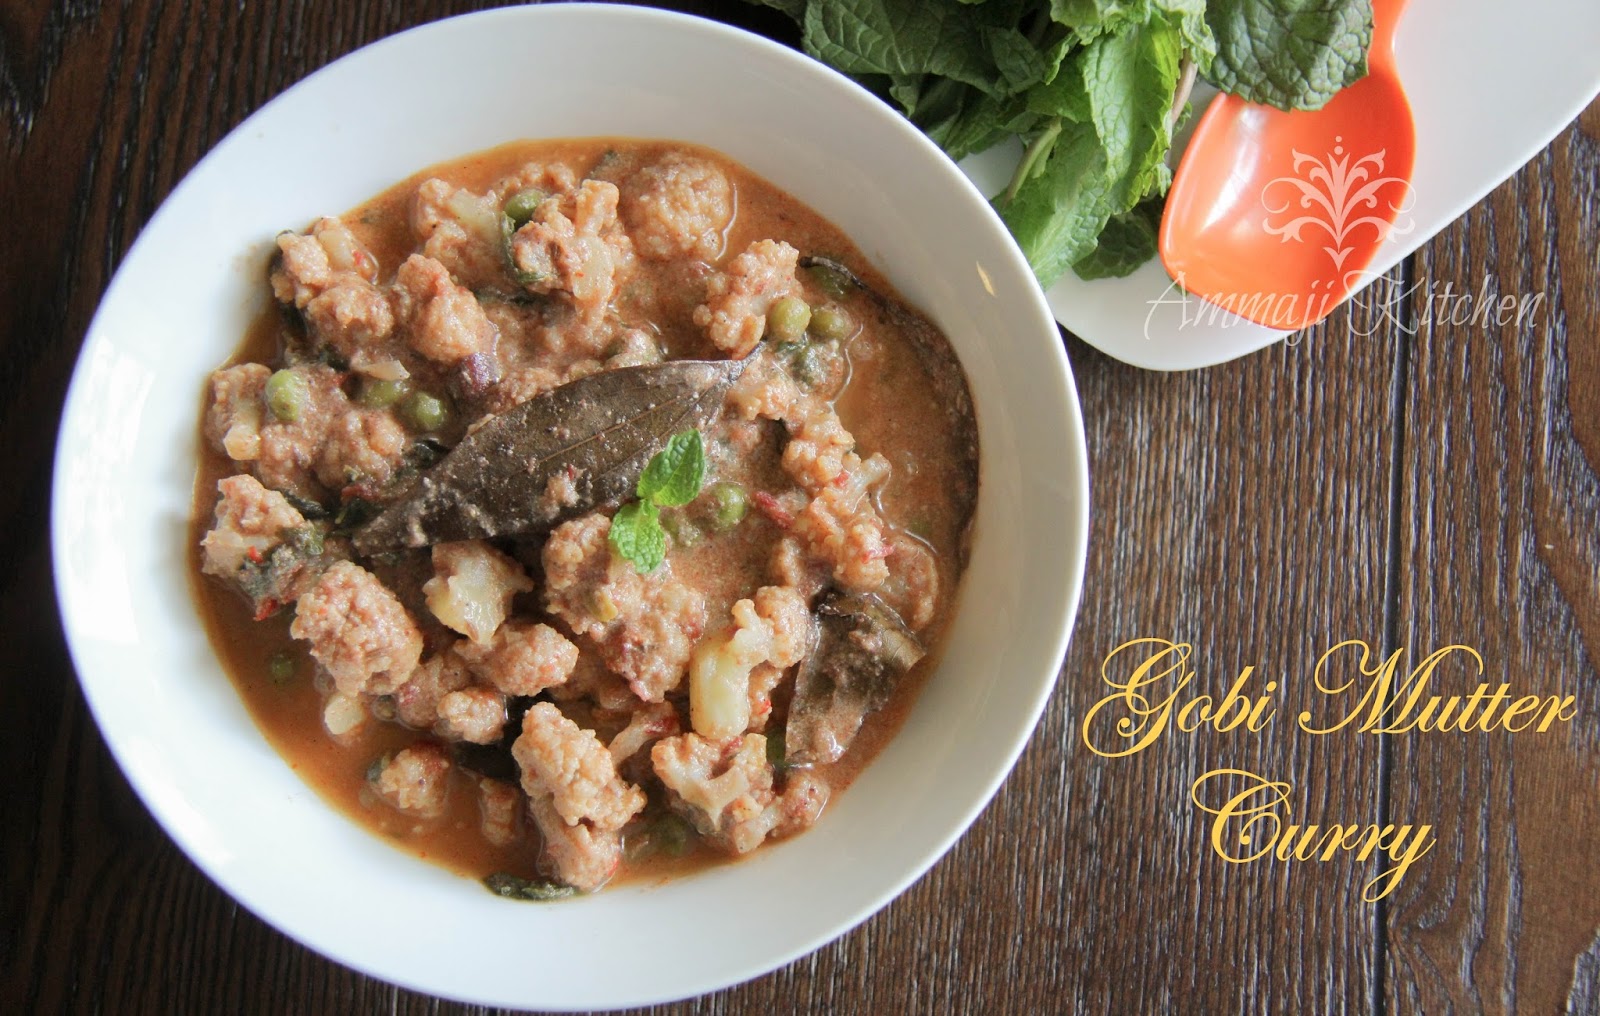
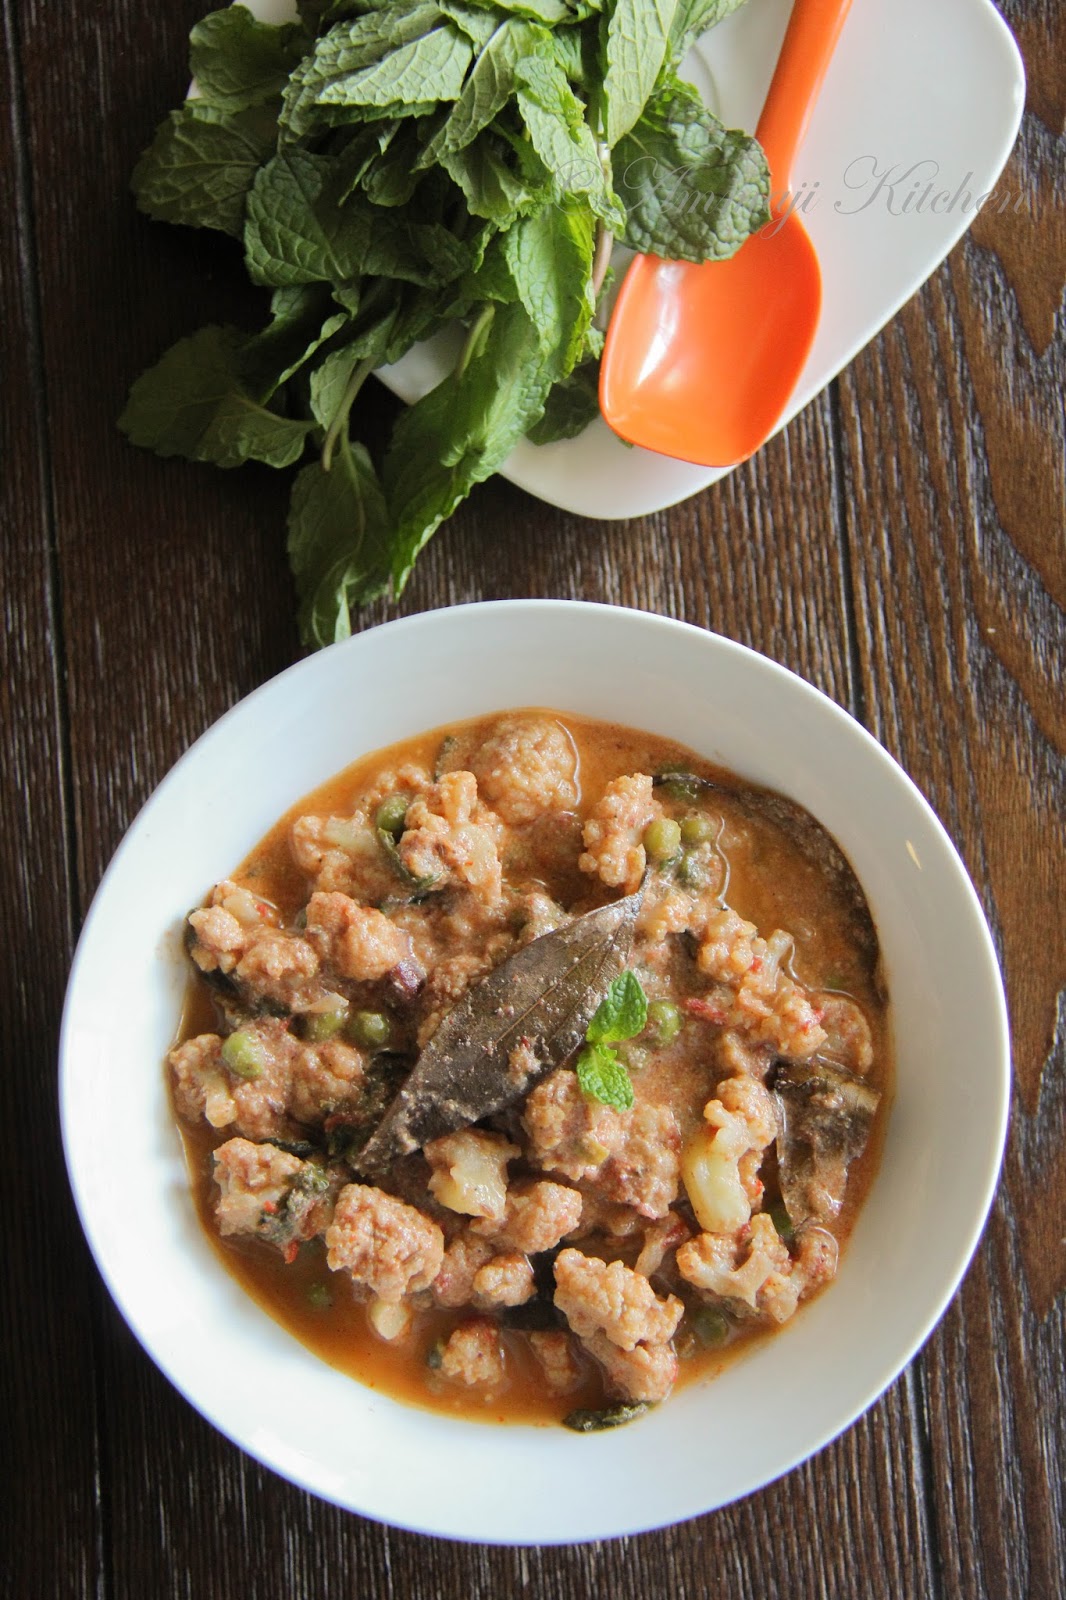
Gobi Mutter Curry is a much known yummy side dish. Few more which fall in the same category are aloo mutter, aloo gobi & many more combo's that are irresistibly good. Coming to the below recipe, I'm sharing a " No Onion No Garlic" & taste's as delicious as the original one with onion & garlic. This curry is mildly spiced & also cooked to perfection in one pot. Enjoy this simple side dish!!!
Prep Time-10mins
Cook Time-30mins
Serves-2People
Pairs well with rice, roti & naan or serve it as you like.
Ingredients
2Tbs oil
1Tsp Jeera/cumin
2Bay leaves
1Inch piece cinnamon
2Tsp chopped ginger
4Green chili's
3Tomatoes chopped
2Cup gobi pieces
1/2Cup green peas
Salt to taste
1&1/2Tsp coriander cumin powder
1/4Tsp turmeric
1Tsp chili powder
1/2Cup curd {optional}
1/4Cup chopped cilantro leaves
Directions
- Heat pan with oil. Add bay leaves, cumin & cinnamon to pan. Fry them till jeera turns light brown.
- Add in ginger to pan along with green chili's & tomatoes.
- Next add in gobi pieces & green peas to pan. Mix them & cook on a low heat for few seconds.
- Add in coriander cumin powder, turmeric, salt & chili powder.
- Close pan with a lid & cook on low heat for 15mins.
- Add in curd & cook on low heat. Adjust salt & chili powder if needed.
- Garnish with coriander & switch off heat.
- Serve warm & enjoy.
Note
- You can mix & match the veggies.
- Adding curd is totally optional.
Follow me on "Facebook", "Google+", "Pinterest", "Instagram" for daily updates. Leave me a comment on any queries regarding this recipe & I will be able to answer it for you as soon as possible.

Paneer dishes are a favorite & must have one's at home. In a week we gobble on much more than 2people can. Sometimes I use these tempting cheese cubes to calm my hunger at nights. Paneer is healthy & for sure one should limit the consumption. Too much of anything is not good.
I'm sharing this "No Garlic No Onion" Paneer Masala Curry recipe with you all. It's mild in flavor, creamy in texture & yummy in taste. Frankly I love adding onion to any curry, I believe that addition of it adds flavor to curry & makes it much tastier. But sometimes I like to slip it from cooking & love enjoying satvik food.
Prep Time-15mins
Cook Time-25mins
Serves-3People
Pairs with rice, roti & naan.
Ingredients
2Tbs oil
2&1/2Cups paneer cubes
3Tbs oil+2Tsp butter/ghee
1Tsp cumin
Cinnamon small piece
2Elachi's
2Tsp grated ginger
4 Tomatoes pureed
1Tsp garam masala powder
2Tsp chili powder
1Tsp coriander cumin powder
2Tbs cashews {soak in milk for 15mins}
1/2Cup milk
1Tbs kasoori methi
Salt to taste
1Tsp sugar
Coriander for garnish
Directions
Frying paneer
- Heat with pan with 2tbs oil. Add in chopped paneer to pan & fry them crisp. Dry them on a paper towel.
For gravy
- Heat pan with oil & ghee. Add cumin, cinnamon & elachi to pan. Fry for few seconds till the jeera goes to light brown in color.
- Next add in ginger & pureed tomato pulp to pan. Mix them well & bring it to boil.
- Add in garam masala powder, chili powder, coriander cumin powder, salt & sugar to pan.
- Cook them on low heat. Mean while grind cashews & milk to a smooth paste. Add it to the pan along with kasoori methi & cook it on low heat for 5mins.
- Add in the fried paneer to gravy & cook on low heat till the gravy becomes thick. Adjust salt & chili powder if needed.
- Once the gravy thickens swith off heat & garnish with coriander leaves.
- Serve warm with a slice of lemon.
Note
- Skip the frying part of paneer if you want t add in the paneer as it is.
- You can replace oil with ghee. But mixing both with cut down some fat from ghee, while making the dish flavor full.
Follow me on "Facebook", "Google+", "Pinterest", "Instagram" for daily updates. Leave me a comment on any queries regarding this recipe & I will be able to answer it for you as soon as possible.

Summers are hot, sweaty & sometimes very dry in India. A refreshing drink that can make you feel good is all you need sometimes. Here is a drink for those hot hot summer days, which is also a favorite drink from my childhood days. This was served in our school to students as the summer starts. Sometimes it use to be accompanied with boiled broken wheat which is not refined. The combination use to be awesome.
Coming to this drink lemony buttermilk, onions, & lemon juice are the good cooling agents for the body. So this drink is best for the hot summer days as it cools your body & keeps you happy.
Enjoy this refreshing drink!!!
Prep Time-10mins
Sitting Time-30mins
Serves-2People
Ingredients
1Cup thick curd
1Cup water {Adjust as needed}
2Tbs finely chopped onions
Few curry leaves finely chopped
1&1/2Tsp lemon juice {Adjust as needed}
Salt to taste
Directions
- In a bowl mix curd & water. It comes to a smooth liquid consistency.
- Add in chopped onion, lemon juice & salt. Mix them & adjust salt if needed.
- Crush the chopped curry leaves using your hands & add to the buttermilk mix.
- Allow it to sit in refrigerator for 30mins to mingle the flavors well.
- Serve it chilled.
Note
- If the curd you are using is little watery then adjust water accordingly.
- Instead of curd you can use 2cups buttermilk & add little water if needed..
Follow me on "Facebook", "Google+", "Pinterest", "Instagram" for daily updates. Leave me a comment on any queries regarding this recipe & I will be able to answer it for you as soon as possible.

Dal Tadka is a very well known & widely made side dishe of India. This easy to make dish is very nutritious & filling at the same time. This is a comforting & soothing food for any day. My version of dal tadka is a little different than the restaurant style of this dish. It's little thick in consistency & also has a addition of lemon juice, as it makes it a little tangy & tasty.
Prep Time-5mins
Cook Time-45mins {Pressure cooing+resting}
Serves-3to4 People
Pairs well with rice or as a side for naan & roti.
Ingredients
1/2Cup toor dal
1/2Cup masoor dal
1&1/2Cups of water
1Big onion chopped
4Green chili's sliced
Few curry leaves
1Tsp turmeric
2&1/2Tsp lemon juice {Adjust as needed}
Tempering/Tadka/Popu
1Tbs oil
1Tsp mustard
1Tsp cumin/jeera
few red chili's
1/2Tsp hing
Directions
- Wash toordal, masoor dal & add them to a pressure cooker. Along with that add onions, green chili's & few curry leaves. Pressure cook them for 2 to 3 whistles & switch off the heat. Allow the cooker to cool down before transferring them to a deep vessel.
- Add in turmeric, salt & lemon juice to dal. Mix them well. Adjust the taste of salt & lemon if needed.
- Mean while heat pan with oil for popu/tadka. Add in cumin, mustard seeds, red chilli's & last the hing. Once the mustard starts jumping switch off heat & mix it with dal.
- Serve it with rice, roti & naan.
Note
- Omit adding lemon juice & add 2tomatoes while pressure cooking the dal.
- Add a 1/2 Cup water to the dal once you have transferred to the vessel & cook it for 5mins on low heat before adding tadka to it.
Follow me on "Facebook", "Google+", "Pinterest", "Instagram" for daily updates. Leave me a comment on any queries regarding this recipe & I will be able to answer it for you as soon as possible.

Rasam is a comforting & appetizing dish form Southern India. They are various versions of rasam dishes & one of those is "Lemon Rasam". The preparation is all same as the regular rasam & the only difference is we add lemon juice instead of tamarind pulp for the tanginess in dish.
Prep Time-5mins
Cook Time-45mins {Pressure cooking + Stove top cooking}
Serves-2People
Pairs well with rice, curry & ghee.
Ingredients
1/4Cup toor dal
2Tomatoes chopped
1Medium drumstick chopped to 4 pieces
1/4Tsp turmeric
Few curry leaves
2&3/4Cup water
1Tbs lemon juice
2Tsp rasam powder
1Tsp sugar
Salt to taste
Tempering/Tadka/Popu
1Tbs oil
1Tsp mustard seeds
1Tsp jeera/cumin
Few curry leaves
1/2Tsp hing
Directions
- Pressure cook toor dal, tomatoes, drumstick's & curry leaves with 3/4Cup water to 2 whistles. Allow it to cool before transferring to a vessel.
- Mash the dal & add rasam powder, salt, sugar along with 2Cups water.
- Bring them to boil & adjust salt if needed. Cook for 5mins one low heat & switch off heat.
- Heat pan with oil. To that add mustard, cumin & curry leaves. Once the mustard starts jumping add hing to pan & switch off heat.
- Add tadka & lemon juice to rasam. Mix them well & rasam is ready to serve.
- Serve with warm rice & a dollop of ghee.
Note
- Don't heat rasam after adding lemon rasam.
Follow me on "Facebook", "Google+", "Pinterest", "Instagram" for daily updates. Leave me a comment on any queries regarding this recipe & I will be able to answer it for you as soon as possible.

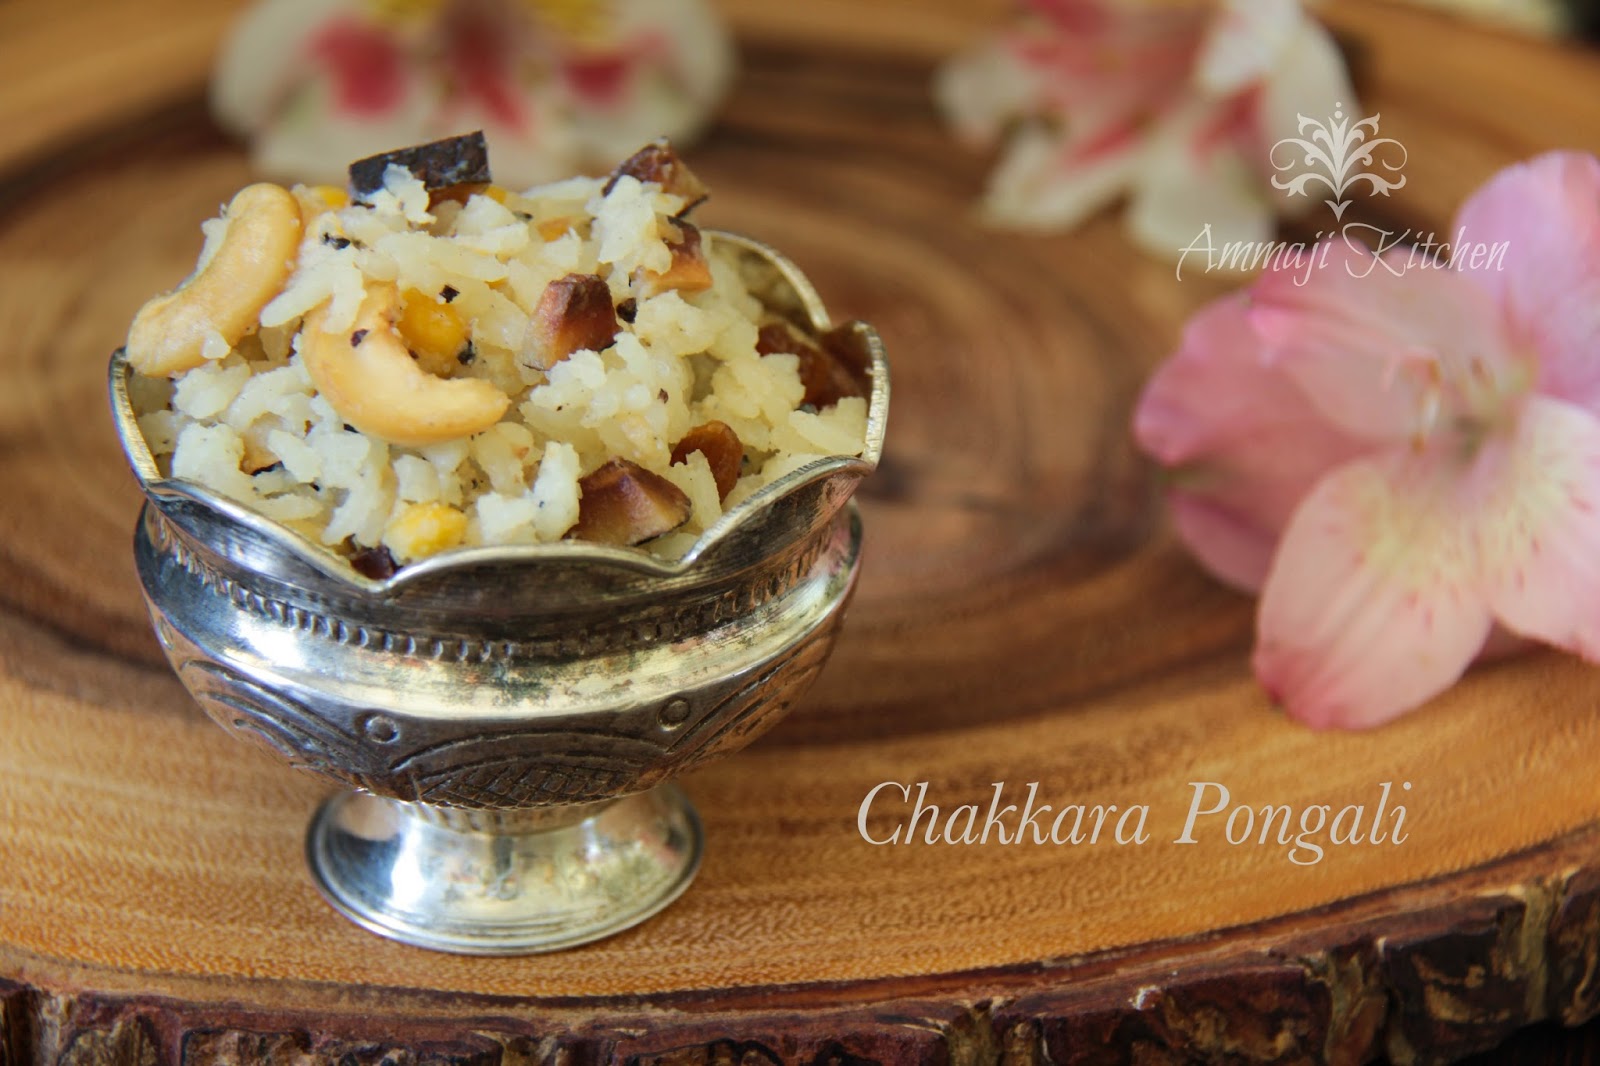
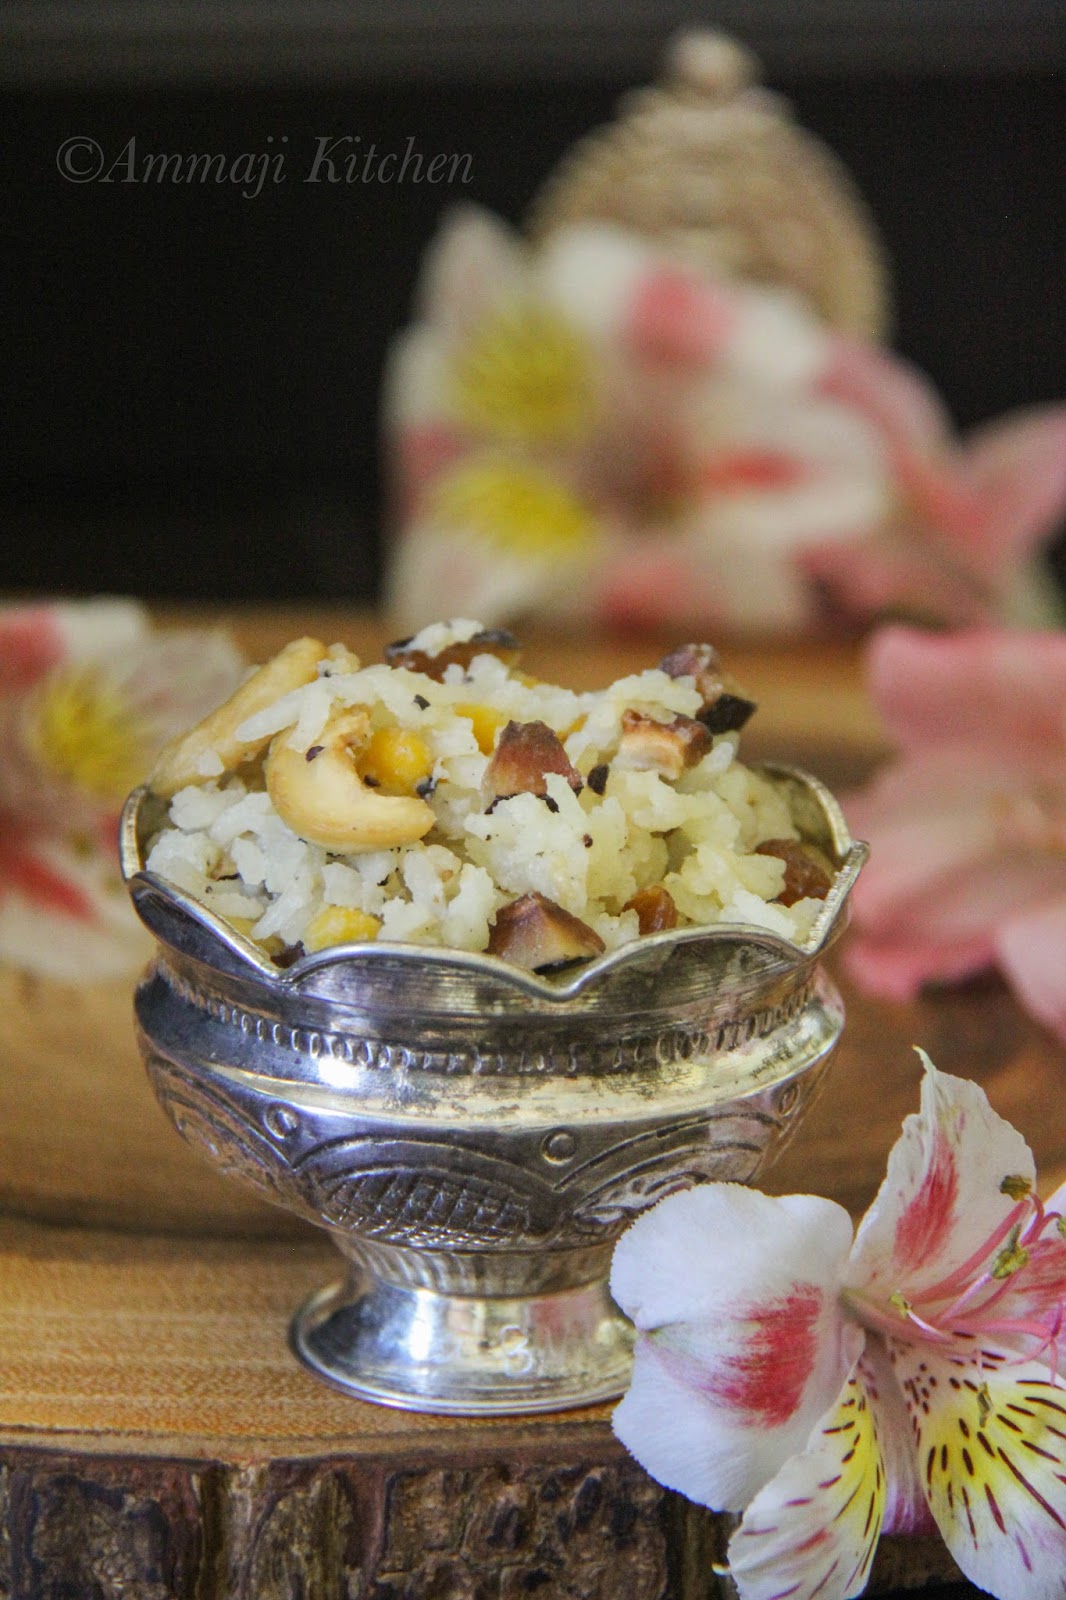
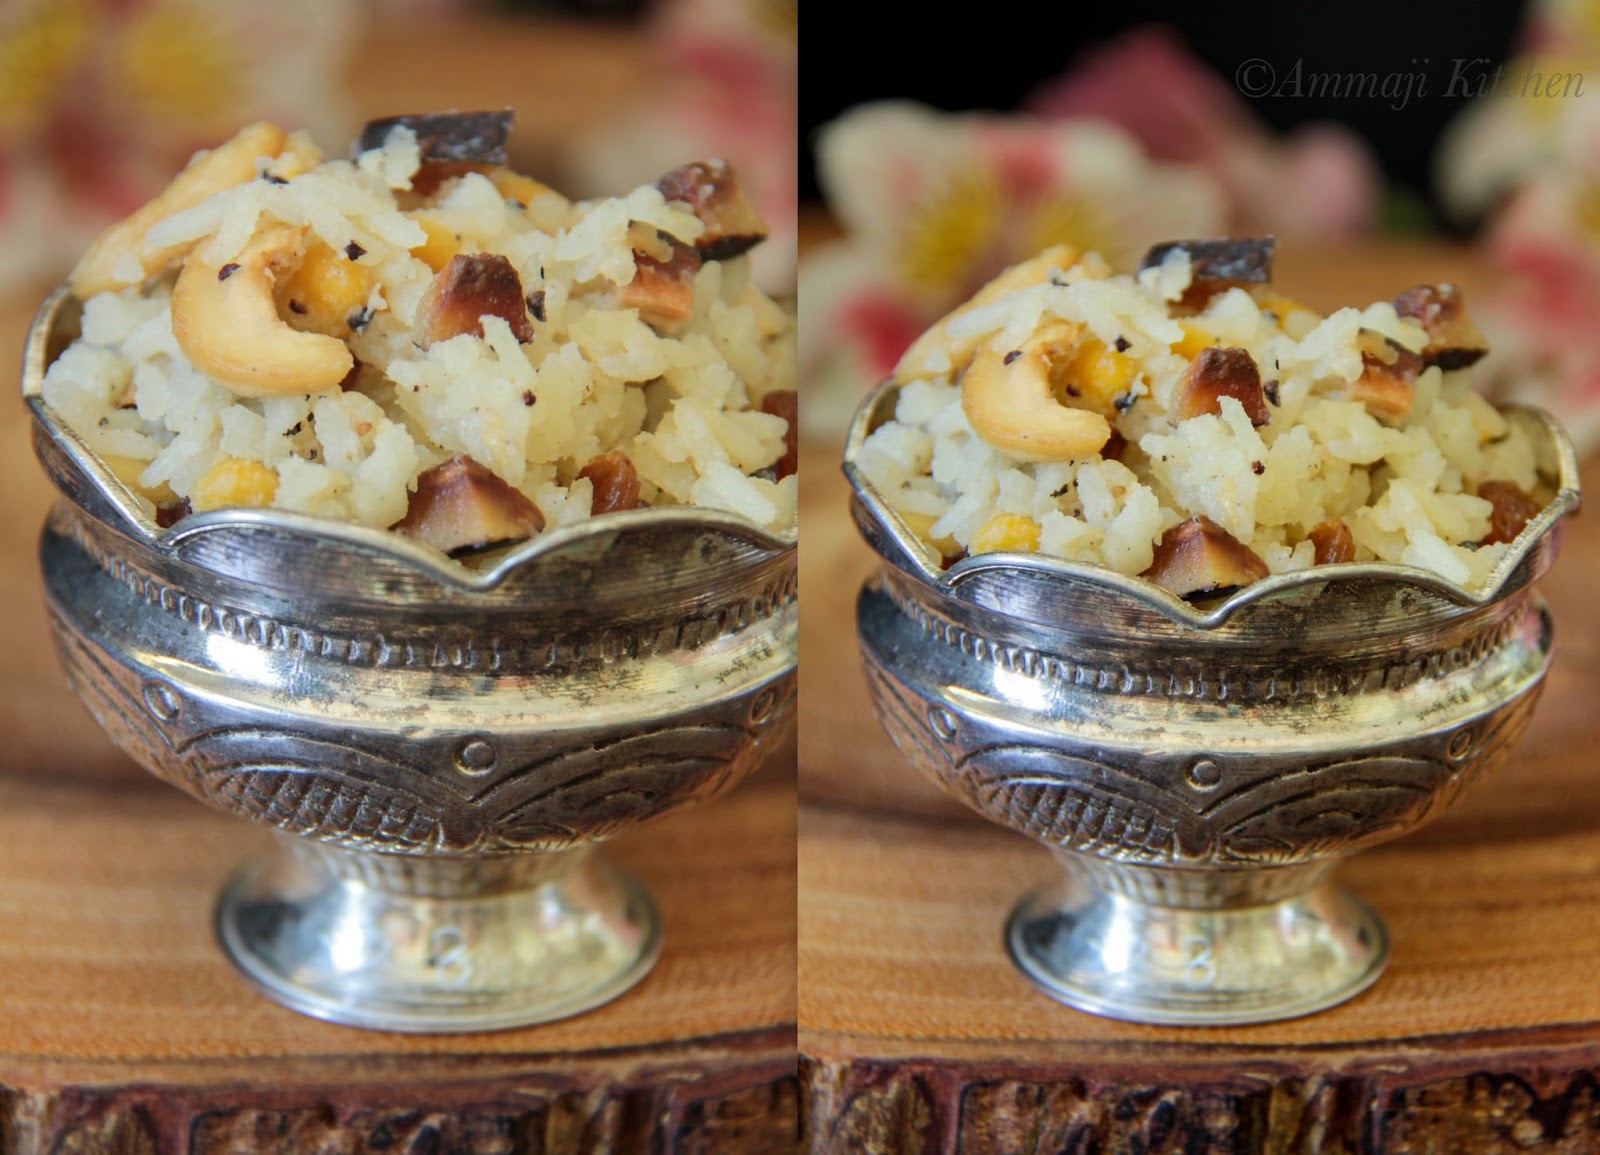
Chakkara Pongali, as the name says Chakkara means sugar & Pongal means the boiling of milk. This pongal is generally made for sankranthi festival, but at my grand mom's place it was made for almost all festivals. This is one of the sweet dishes which is on high demand among kids. Generally when I visit my mom, she gives me options of my favorite dishes which she can cook for me & for me it's always Chakkara Pongali.
I made this sweet on one of 9days of Navratri festival as a prashad to goddess. The one ingredient I missed is "Edible camphor/Pacha Karpooram" which is not available for me in near by Indian stores, but addition of that will make this dish much tempting & flavorful. Chakkara Pongali is little dry in consistency when compared to rice pravanam or rice kheer dishes.
Enjoy !!!
Prep Time-1hr5mins {Soaking + arranging things needed}
Cook Time-30mins to 45mins
Serves-4people
Ingredients
1Cup rice
2Tbs chana dal
2&1/2Cups milk
1Cup sugar
2tbs water
2Tsp cardamon powder
1/4cup ghee/butter
2Tbs cashews
1Tbs raisins
2Tbs finely chopped coconut pieces
Directions
- Soak rice & chana dal for 1hr. After 1hr strain water & keep aside.
- Next in a deep pan take 2cups milk & bring it to boil. Add strained rice & chana dal to milk.
- Cook on low heat until the rice absorbs milk, then add in left 1/2Cup milk. by now rice will be almost cooked.
- Cook on low heat till the rice is cooked well. It might take around 15mins for a perfect cooked rice.
- Mean while in a bowl bring sugar & 2tbs water to boil. Allow the mixture to come together to a thick consistency. Switch off heat & mix it with cooked rice.
- Place the pongal pan on stove. Now cook on low heat till the little left liquids disappear & it becomes thick. Switch off heat.
- Mean while heat a pan with ghee. To that add cashew, coconut pieces & raisins. Fry them till cashews are lightly browned, raisins are puffed & coconut pieces are lightly browned.
- Mix with the cooked pongal & chakkara pongali is ready to serve.
Note
- You can pressure cook the rice, but it will mess up the stove when milk spills out. So for me it's a big no.
- Coconuts add a nice flavor to this sweet. You can skip them if you are not a fan of them.
- Don't reduce the ghee/butter content, it brings yum taste to the dish.
Follow me on "Facebook", "Google+", "Pinterest", "Instagram" for daily updates. Leave me a comment on any queries regarding this recipe & I will be able to answer it for you as soon as possible.

Paruppu Usili is a delicious dish consists of few different dals & veggies, which are cooked to perfection while making it irresistibly good. The other version of paruppu usili is Andhra's Patoli dish. It is very similar dish as of usili with a little of variations to it & it is as delicious as usili. When we were enjoying this dish for lunch my husband was saying it is very similar to Nellore's "Sandi Pindi" dish. I was amazed how one dish was named differently in different places & to my surprise all are few miles apart.
Enjoy this yummy dish!!!
Prep Time-2hrs10mins {2hrs of soaking + 10mins for chopping & arranging}
Cook Time-45mins
Serves-2People
Pairs with rice along with rasam, pulusu & sambar.
Ingredients
1Cup chopped french beans
1Small onion chopped
2Red chili cut equally
Few curry leaves
1Tsp mustard seeds
1Tbs oil
Salt to taste {adjust as needed}
To grind
1/4Cup chana dal
2Tbs toor dal
2Tbs moong dal
1Tsp cumin
5Red chili's
1/2Tsp hing
1/4Tsp turmeric
Salt to taste
Directions
- Soak chana dal, moond dal & toor dal for 1hr to 2hr.
- Strain the water & add them to a blender along with cumin, red chili's, hing, turmeric & salt.
- Coarse grind them. Now taste the mixture & adjust salt, spiciness in the mixture.
- Take a idli pan & apply oil to the rounds.
- Divide the mixture equally in to four holes & steam cook them for 10mins.
- Mean while heat pan with oil. To that add mustard seeds, red chili's & curry leaves.
- Once the mustard starts jumping add in onions & fry them for 1min. Then add in cut beans along with pinch of salt. Stir in & close it with a lid.
- Allow the veggies cook, mean while the mixture is cooked well.
- Allow it to cool before crumbling it. Crumble the steamed mixture with your hands as shown above.
- Add in the crumbled mixture to the cooked veggies. On low heat mix them well & blend them well by stirring them. Adjust salt if needed.
- Cook for 5mins & then switch off heat.
- Usili/Patoli is ready to serve. Serve warm with rice & dollop of ghee.
Note
- I never boil veggies in lots of water as the nutrients are drained wastly after the veggies are cooked.
- You add salt kind of twice in this dish. As the mixture needed the perfect salting & the veggies will be left alone. Add enough salt/little salt to veggies to balance it perfectly in the dish.
- Sprinkle a little lemon juice after the curry is cooled. It adds a nice twist to the dish.
Follow me on "Facebook", "Google+", "Pinterest", "Instagram" for daily updates. Leave me a comment on any queries regarding this recipe & I will be able to answer it for you as soon as possible.

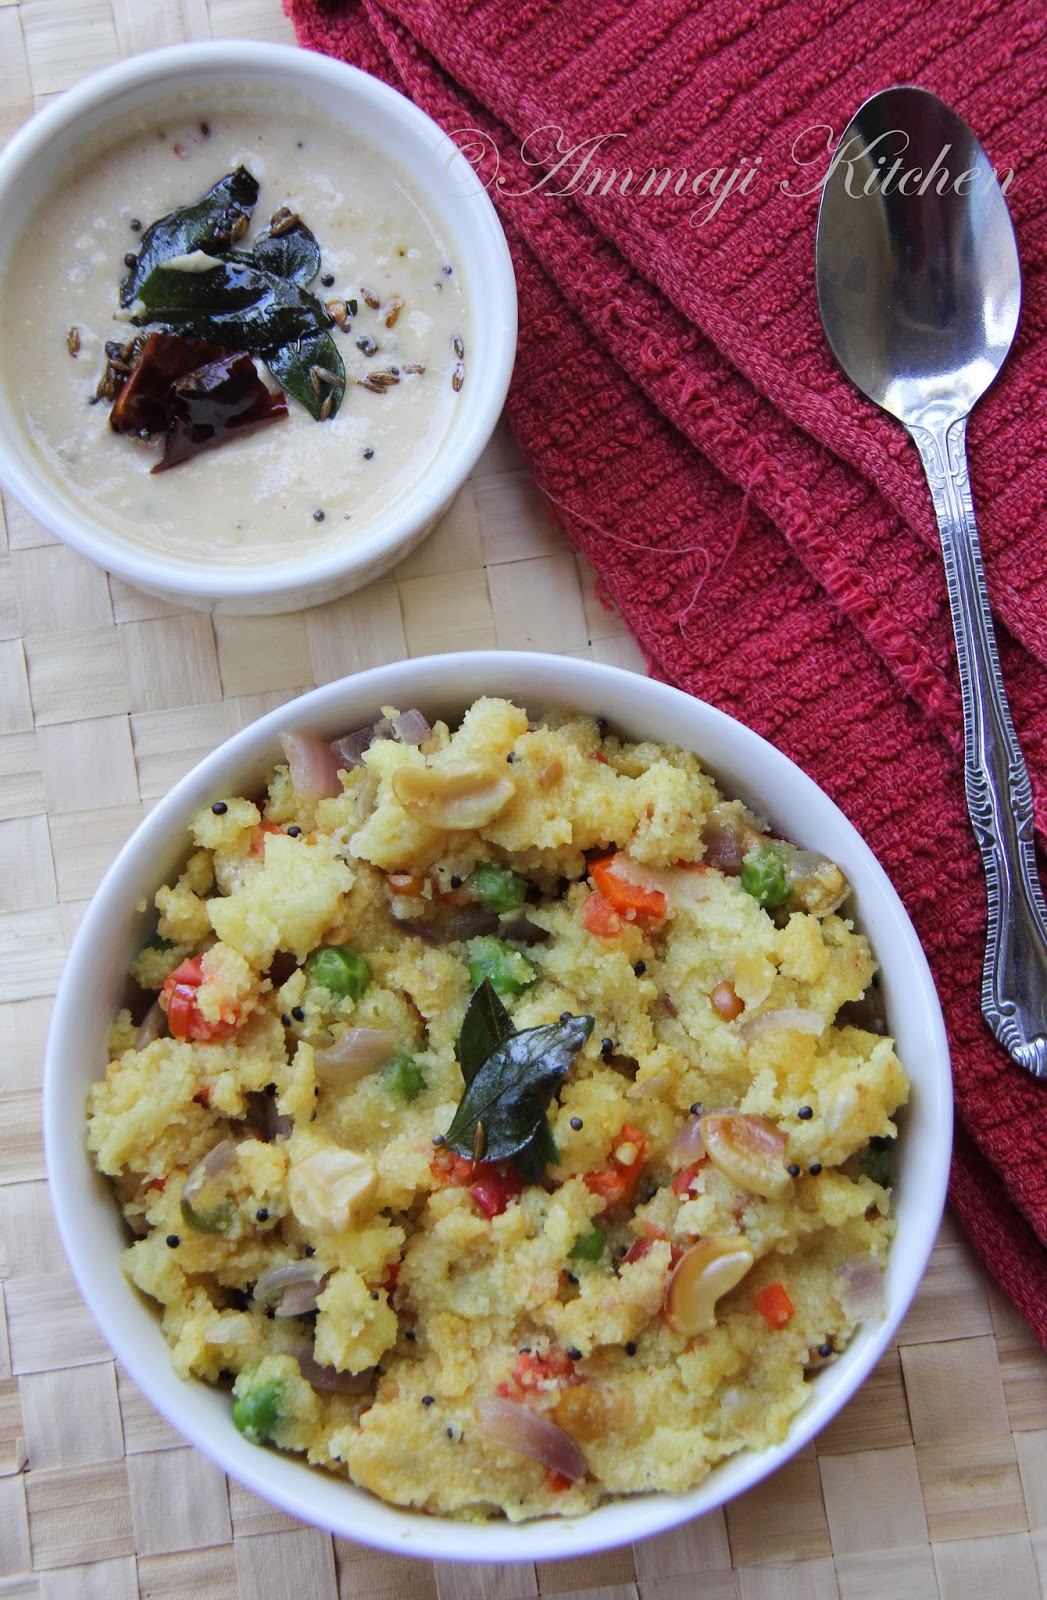
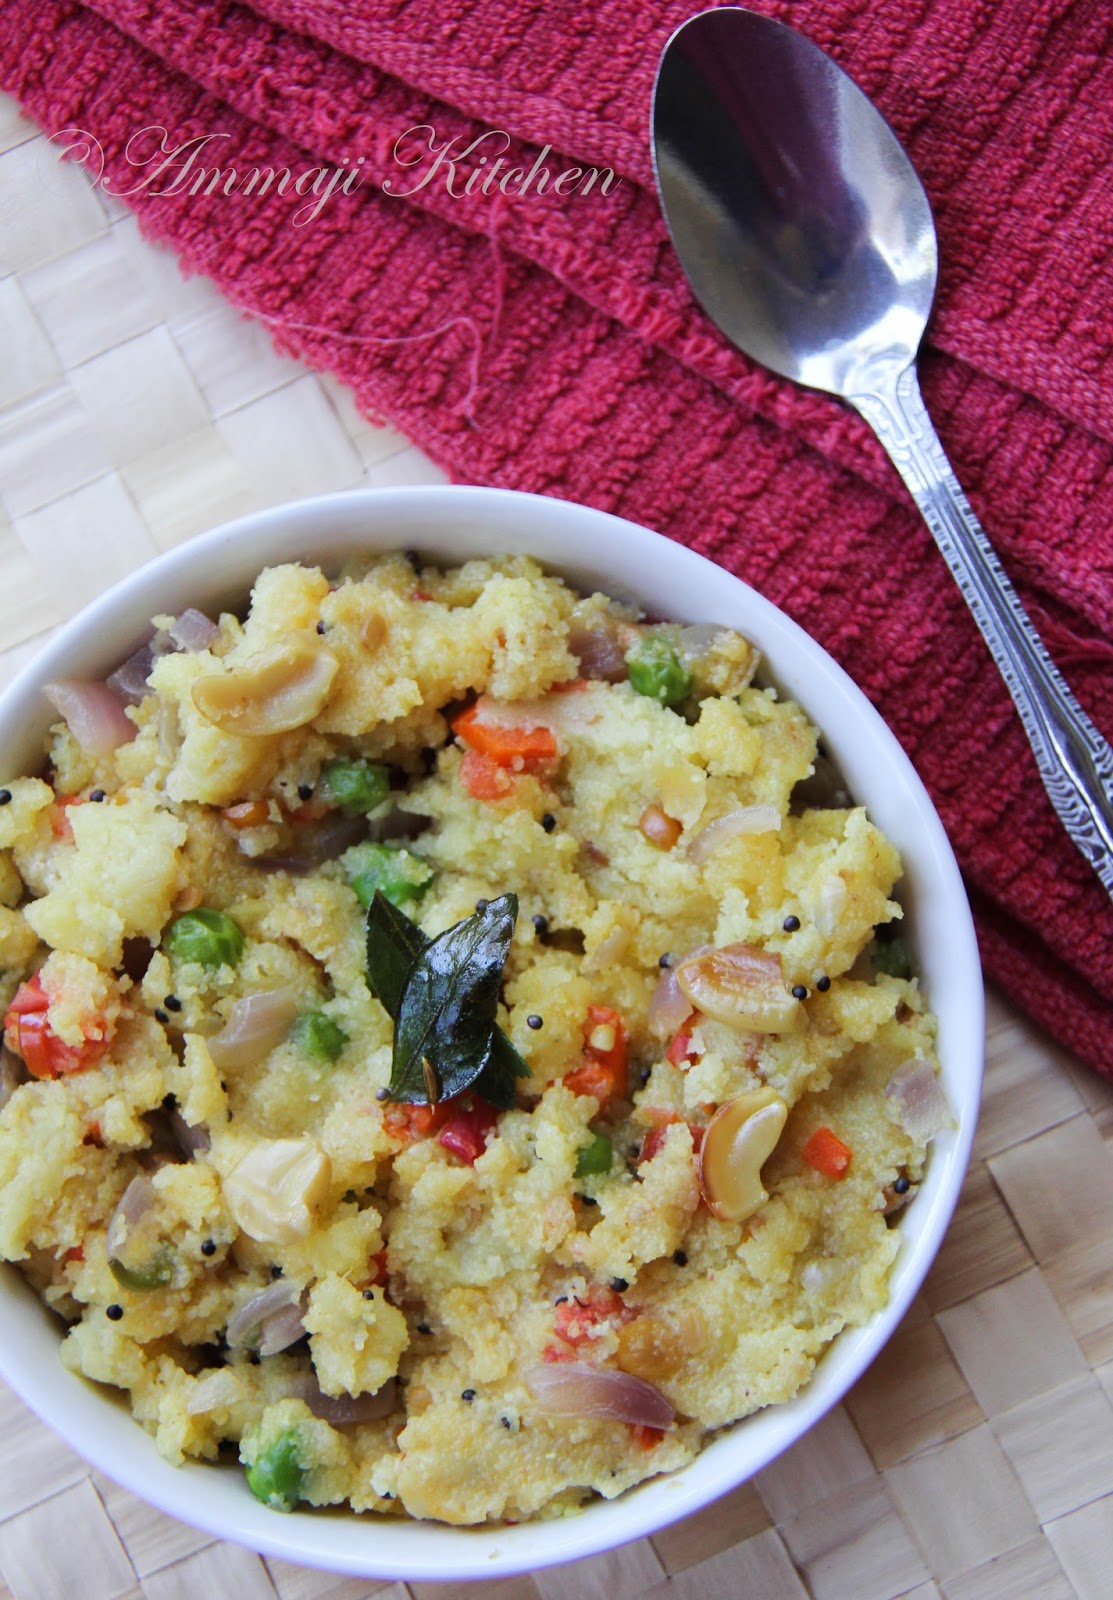
Rava Kichidi or Vegetable Upma is one of my comfort dishes. My most favorite kichidi that I have tasted is from "Sagar" restaurants of Bangalore. Kichidi / Upma from "Sagar" is slightly sweet in taste & also has a nice smooth texture to it. I'm still trying to perfect my kichidi to that taste. Hope one day I will !!! Here is the recipe for a comforting yet mouthwatering dish. Enjoy.
Prep Time-10mins { Arranging + chopping veggies}
Cooking Time-20mins
Serves-3People
Pairs with Chutney, sambar & flavorful powders.
Ingredients
1&1/2Cup roasted sooji rava
2&1/2Cups water
1Medium onion chopped
2Medium tomatoes finely chopped
2Carrots peeled & chopped to small pieces
1/4Cup green peas
4Green chili slit to half
1/4Tsp turmeric
Salt to taste
1Tsp sugar
Few curry leaves
For Tempering/Tadka/Popu
2Tbs ghee/butter
1Tsp mustard seeds
1Tsp jeera/cumin
2Tsp urad dal
2Tsp channa dal
2Tbs cashews
Directions
- Heat pan with ghee. Once the ghee is hot enough add in mustards, jeera, urad dal, channa dal & cashews. Fry them on low to medium heat to light brown in color.
- To that add in onions. Fry them translucent.
- Add in carrots, green peas & green chili's to pan. Fry them for 1mins.
- Add in tomatoes & cook for 5mins with a closed lid.
- Add in curry leaves, turmeric, salt & sugar to cooked veggies.
- Now add water to pan & bring it to boil. Once the water starts boiling add in sooji by stirring continuously to avoid forming lumps.
- Close pan with lid & cook kichidi on low heat for 10mins. Switch off heat & fluff kichidi a little.
- Serve warm with your favorite chutney.
Note
- If you like a little smooth texture then add in another 1/2Cup water.
- You can add in additional & your choice of vegetables.
Follow me on "Facebook", "Google+", "Pinterest", "Instagram" for daily updates. Leave me a comment on any queries regarding this recipe & I will be able to answer it for you as soon as possible.


